
How Are Braces Put On? Step-by-Step Process & What Every Appointment Feels Like (2026 Guide)
Quick Answer
The bonding appointment takes 45 to 90 minutes and requires no anesthetic. The orthodontist etches each tooth, bonds a bracket, and threads the first archwire. You will feel pressure and hear snapping but no pain. Soreness starts 12 to 24 hours later — not the same day — and peaks at 24 to 72 hours.
Part of our Complete Braces Timeline & Process Guide.
You are sitting in the orthodontic chair for the first time. The assistant snaps a plastic cheek retractor into your mouth, tilts the light directly at your face, and for the next 45 minutes proceeds to do things to your teeth you cannot see and nobody has explained. You leave with a mouth full of metal and a vague instruction to “eat soft foods for a few days.”
Most people go through the entire bonding appointment without understanding what actually happened. That matters, because what happens during those 45 minutes determines how your brackets bond, how your teeth will move, and why the first archwire is always the flimsy-looking thin one — not the thick wire you eventually end up with.
This guide walks you through every step of the bonding appointment in the exact order it happens, explains the science behind each step most orthodontists skip, and tells you exactly what to expect at every adjustment appointment for the rest of your treatment.
How Long Does It Take to Put Braces On?
The bonding appointment takes 45 to 90 minutes, depending almost entirely on the bonding technique your orthodontist uses. There are two methods:
Direct Bonding — The older, traditional approach. The orthodontist bonds one bracket at a time directly to each tooth, one by one, making individual placement decisions for each. Takes 75 to 90 minutes in the chair.
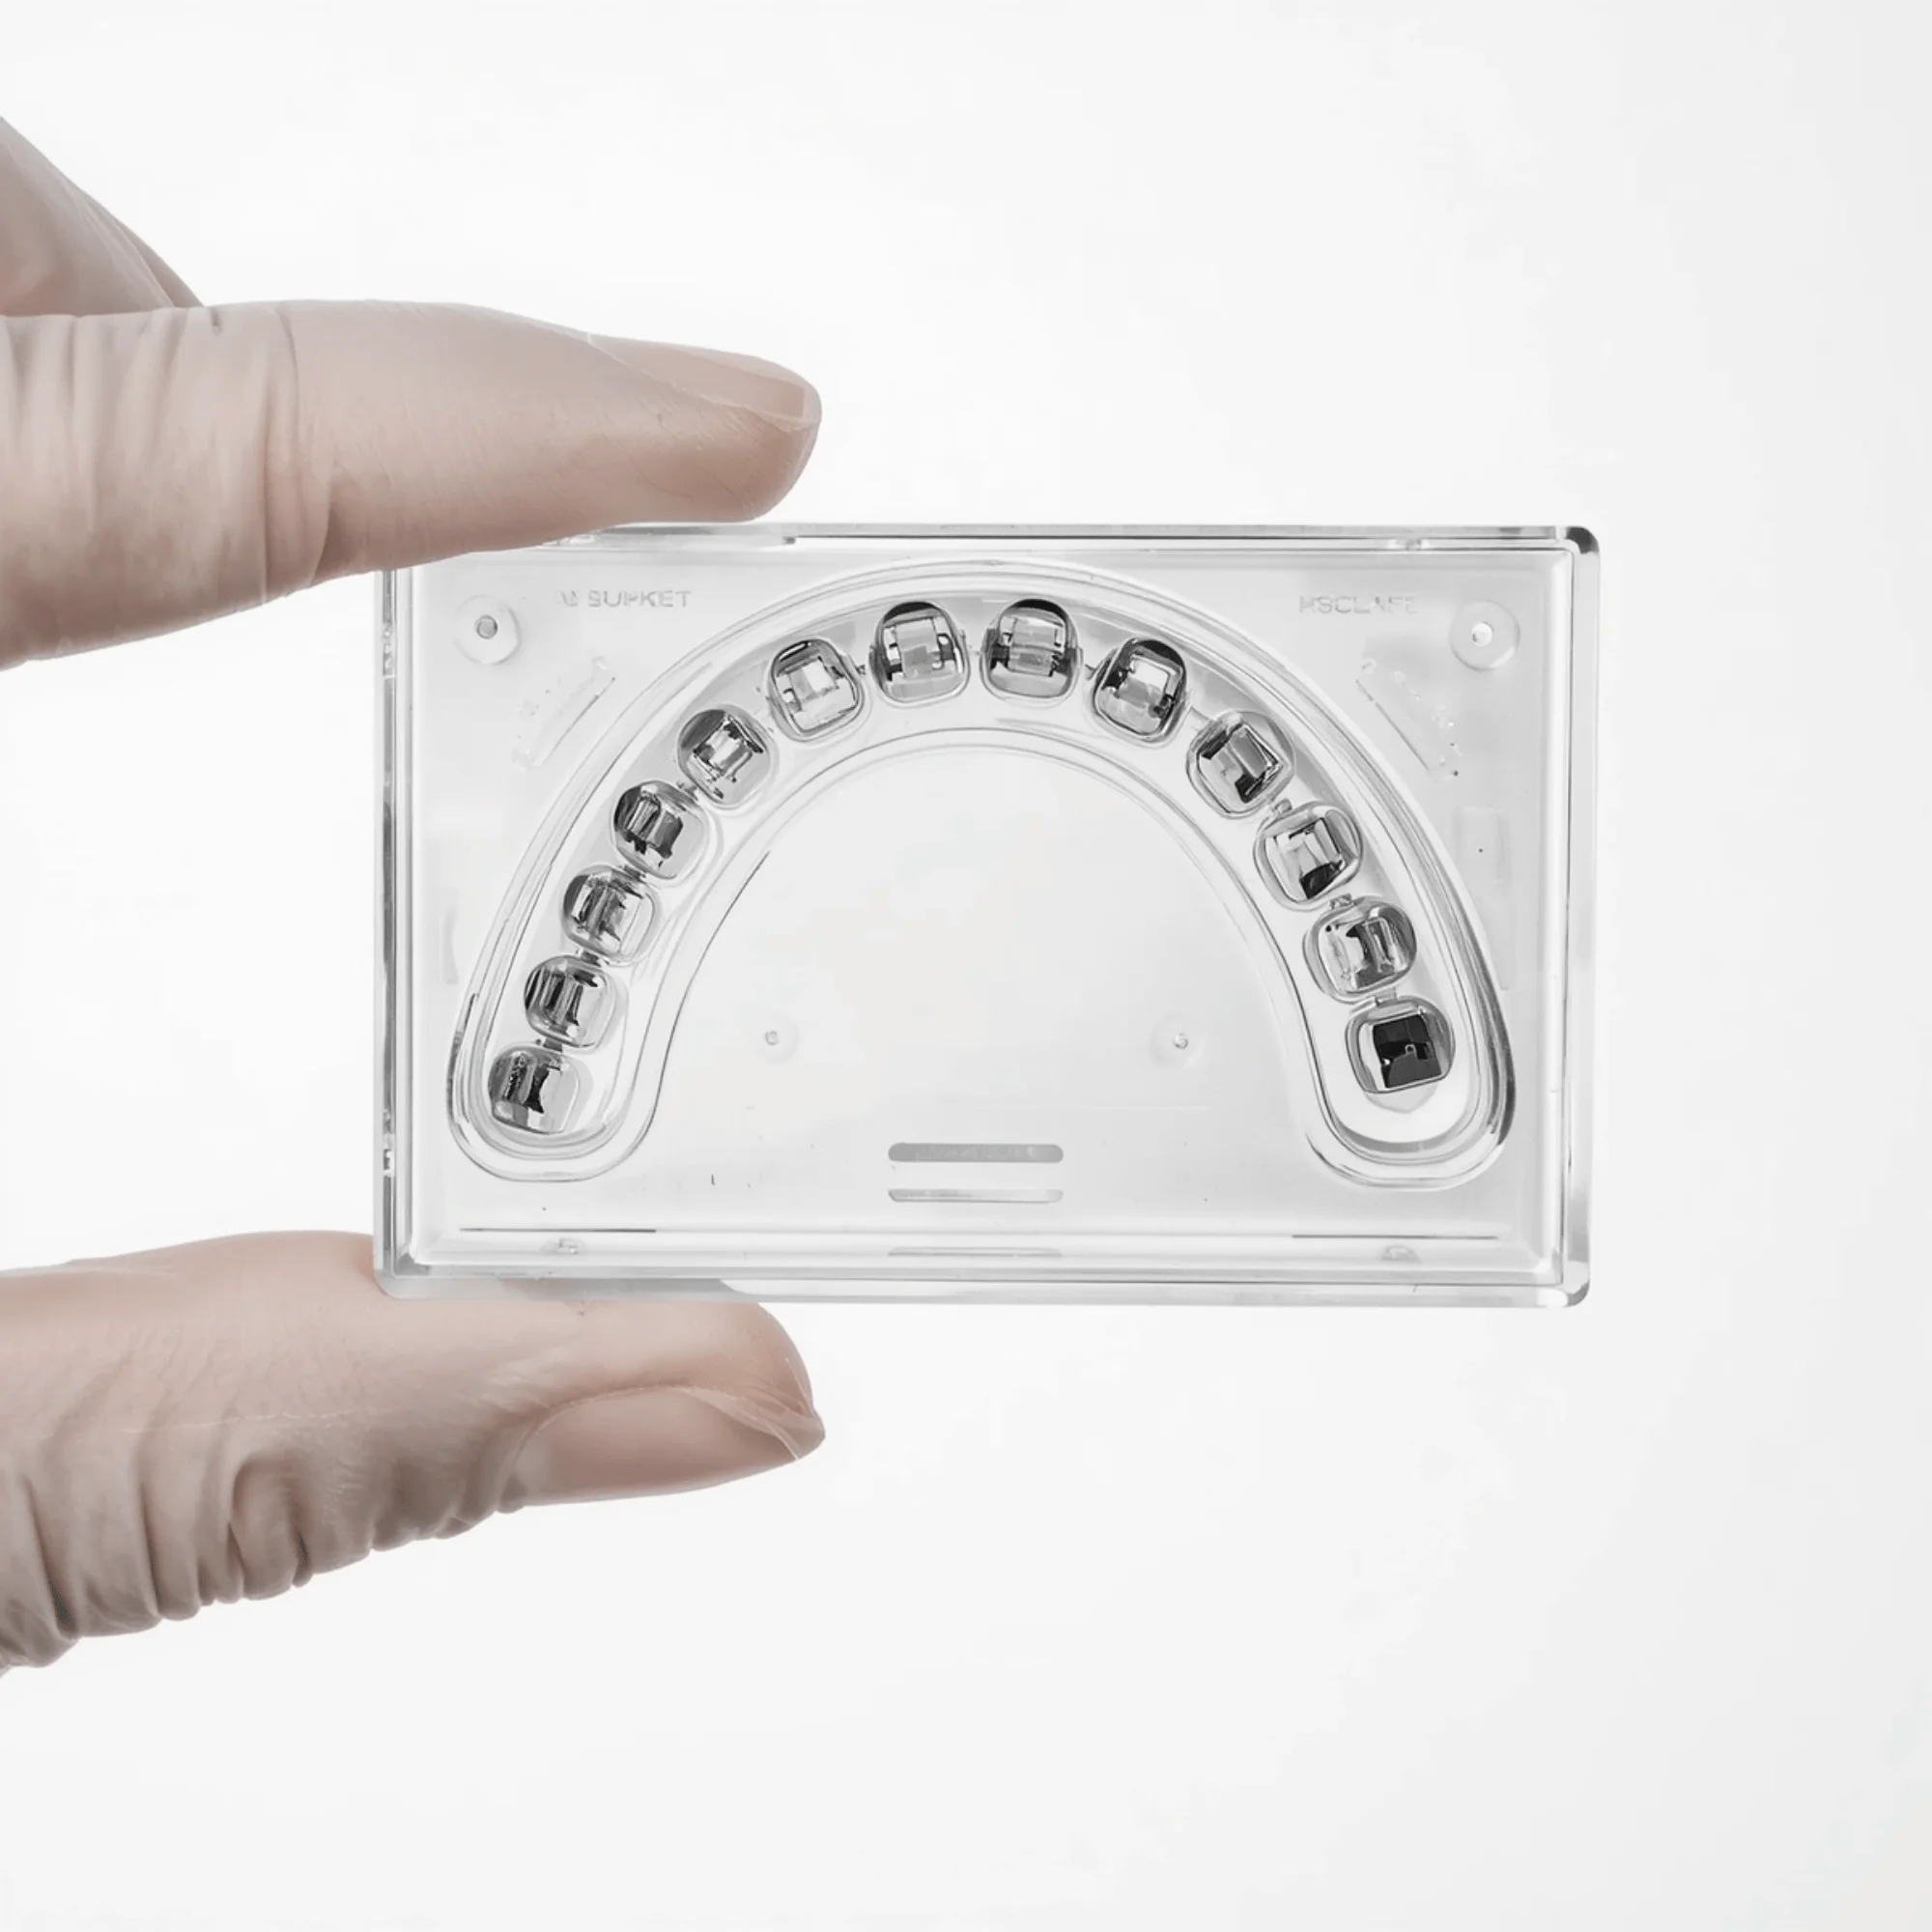
Indirect Bonding (the modern standard) — Your orthodontist took impressions or a 3D scan weeks before this appointment and used them to fabricate a custom silicone transfer tray in a lab. On bonding day, the entire arch of brackets is pre-positioned inside this tray. The tray is pressed onto your teeth all at once, transferring every bracket simultaneously in a single press. Total chair time: 40 to 50 minutes.
Most orthodontic practices switched to indirect bonding over the past decade because it dramatically improves bracket placement accuracy — the lab positions each bracket at the ideal height and angulation using a digital model, rather than relying on freehand placement while looking into a moving mouth. If your appointment felt fast, you got indirect bonding. If it felt long, you got direct.
Step-by-Step: What Actually Happens During the Bonding Appointment
Step 1: Prophylaxis (Teeth Cleaning)
Before anything touches your enamel, a dental assistant polishes your teeth with a gritty pumice paste. This removes the soft plaque biofilm and surface oils that would interfere with the adhesive bond. The bonding strength of bracket cement drops significantly if there is any contamination — even saliva landing on a prepared tooth surface can weaken the bond.
Step 2: Cheek Retractors and Lip Guards
Plastic or foam cheek retractors hold your lips and cheeks away from your teeth for the entire procedure. This is not for your comfort — it is to maintain a dry field. Moisture is the enemy of bracket adhesive. Any contact with saliva during bonding weakens the cement and is the most common cause of early bracket failures.
Step 3: The Phosphoric Acid Etch — The Step Nobody Explains
A blue gel is painted onto each tooth surface and left for 15 to 30 seconds. This gel is 37% phosphoric acid. You may taste something sour. This is the most mechanically important step of the entire procedure, and it is almost never explained to patients.
Here is what it does: your enamel surface looks smooth to the naked eye, but under a microscope it is a matrix of densely packed calcium hydroxyapatite crystals. Phosphoric acid selectively dissolves the tips of those crystals, creating thousands of microscopic pores and channels across the tooth surface. When the acid is rinsed off, the etched surface looks frosty-white and feels like fine sandpaper.
This roughened surface is not just for grip. The primer resin in the next step infiltrates those microscopic pores and hardens inside them — creating a mechanical interlock, not a chemical glue. The bracket bonds to the hardened primer, and the primer is locked into your enamel. This is why properly bonded brackets feel impossible to remove and why debonding requires a specific plier that cracks the adhesive at its weakest point.
Step 4: Primer Application
A thin liquid resin primer is painted onto the etched enamel and the adhesive pad on the back of each bracket. The primer flows into the etched pores. Some systems use a light-cure gun to partially set the primer before bracket placement; on others it remains uncured until the final light cure at the end.
Step 5: Bracket Placement
Direct bonding: The orthodontist places composite resin on the bracket pad and presses each bracket individually onto the tooth, checking placement height and mesiodistal position one by one.
Indirect bonding: The pre-loaded transfer tray is pressed firmly onto the arch. The orthodontist holds steady pressure for 30 to 60 seconds, then carefully peels the tray away, leaving all brackets bonded simultaneously.
Step 6: Light Curing
A high-intensity blue LED curing light is held against each bracket for 10 to 20 seconds. The light activates photoinitiators in the composite resin, triggering rapid polymerization — the adhesive goes from paste to rigid solid in seconds. You may feel mild warmth. The resin continues polymerizing for 24 to 48 hours after you leave the chair, which is why you should eat only very soft foods for the first day even if the brackets feel solid immediately.
Step 7: The First Archwire — And Why It Looks So Thin
Once all brackets are bonded and cured, the archwire is threaded through the bracket slots and held in place by elastic ligatures (the small colored rubber bands) or self-ligating clip mechanisms.
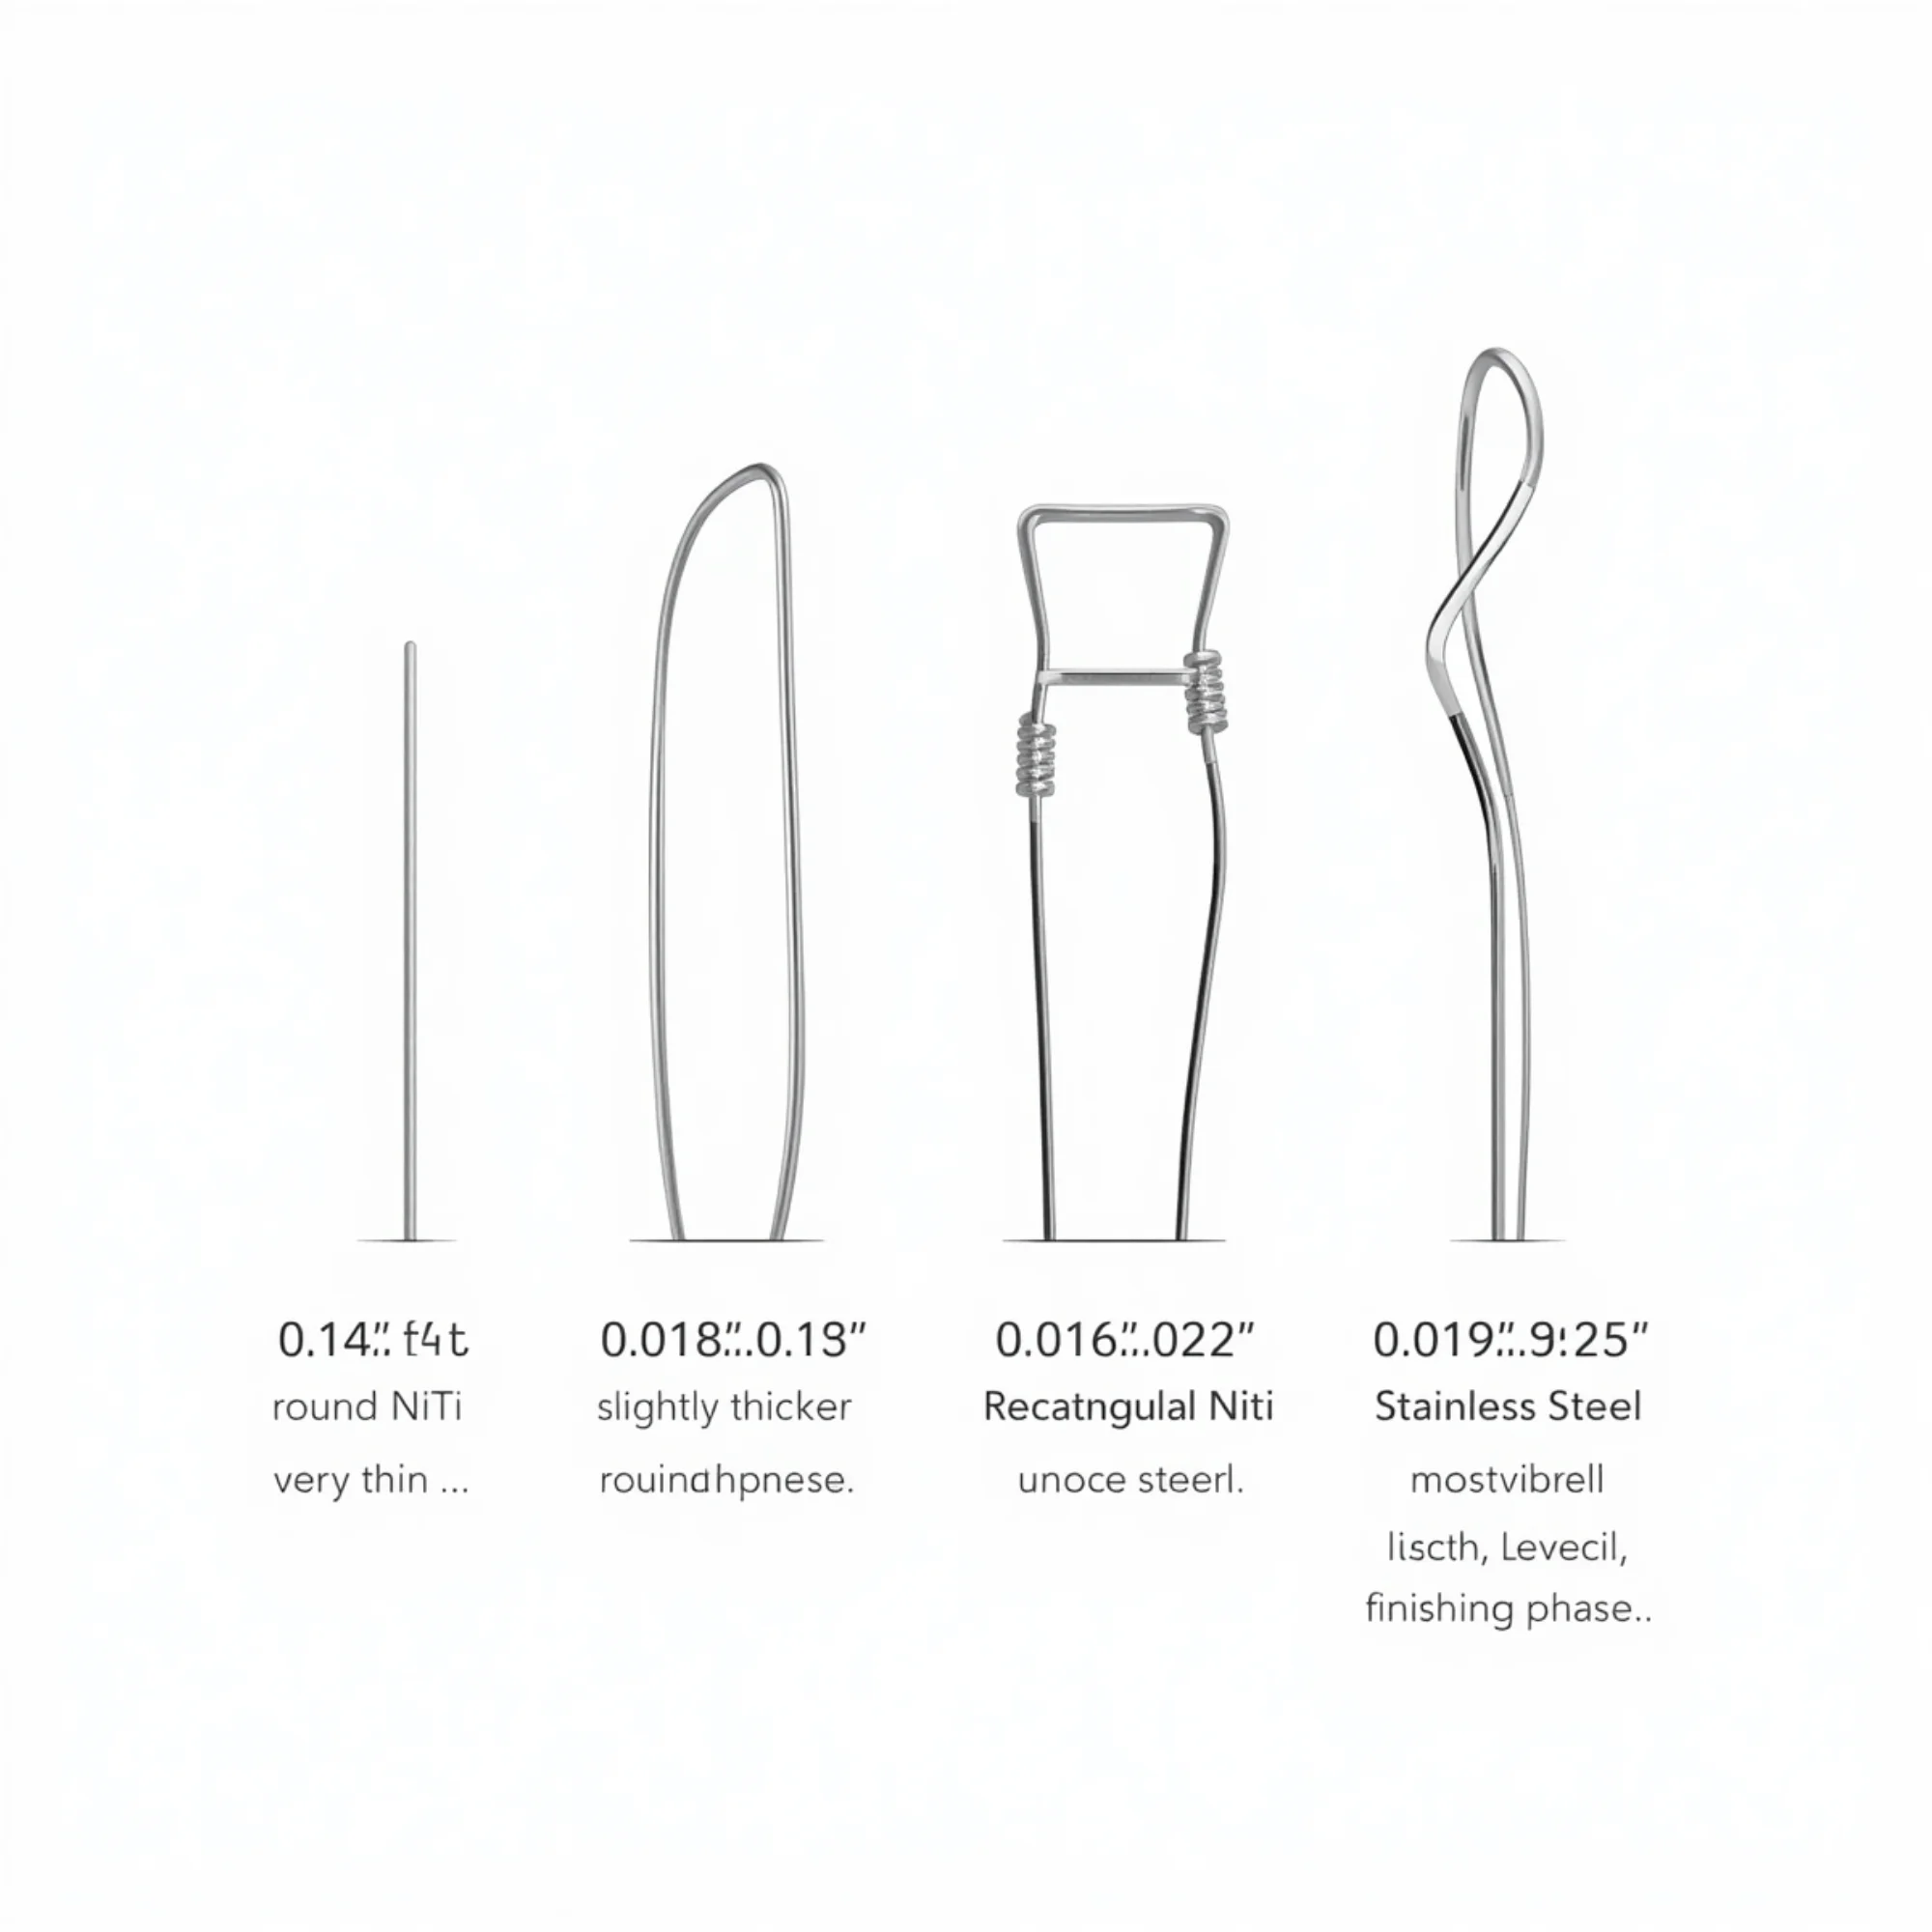
The first archwire is intentionally the thinnest and most flexible wire in your entire treatment — typically 0.014” or 0.016” nickel-titanium (NiTi). NiTi is chosen for a property called shape memory. This wire was manufactured in a perfect arch form and heat-treated to remember that shape. When inserted into your crooked bracket arrangement, the wire is deflected away from its memorized form. The force it exerts trying to return to its original shape is the exact force that moves your teeth.
Because NiTi is super-elastic, it delivers this force at a very low, consistent level even when deflected widely. Stiff wires can only be used once teeth are partially aligned — using a rigid rectangular steel wire on crooked teeth would generate forces so high they would cause irreversible root damage. The sequence always starts thin, flexible, and gentle.
What Is Pre-Programmed Into Your Brackets (That Nobody Tells You About)
Every bracket your orthodontist places already has specific angles machined into its slot before any wire is inserted. These are called bracket prescription values — torque, angulation, and in-out — and they vary for every tooth position in the mouth.
For example, an MBT prescription (one of the most widely used systems) programs 17 degrees of labial root torque into the upper central incisor bracket. This means that as the archwire straightens, it simultaneously tips the root of your upper front tooth outward — creating the correct root position without the orthodontist needing to bend the wire. The bracket is doing mathematical work passively, from the moment it is bonded.
This is why two patients treated by two different orthodontists using the same wire sequence can end up with slightly different results — different bracket prescriptions produce different tooth positions. Asking your orthodontist which prescription they use (MBT, Roth, or Andrews) is a completely legitimate question.
What Happens at Every Adjustment Appointment
Adjustment appointments happen every 4 to 8 weeks. Each one follows the same sequence:
The progression of wires across your treatment follows a predictable staircase: round NiTi (thin and flexible) → larger round NiTi → rectangular NiTi → rectangular stainless steel (stiff and precise). Each step applies more torque control and prepares teeth for the next level of correction.
When Does the Pain Peak After Tightening?
Almost every braces guide says you will be sore “right after” an adjustment. This is wrong. The soreness pattern follows a very specific timeline:
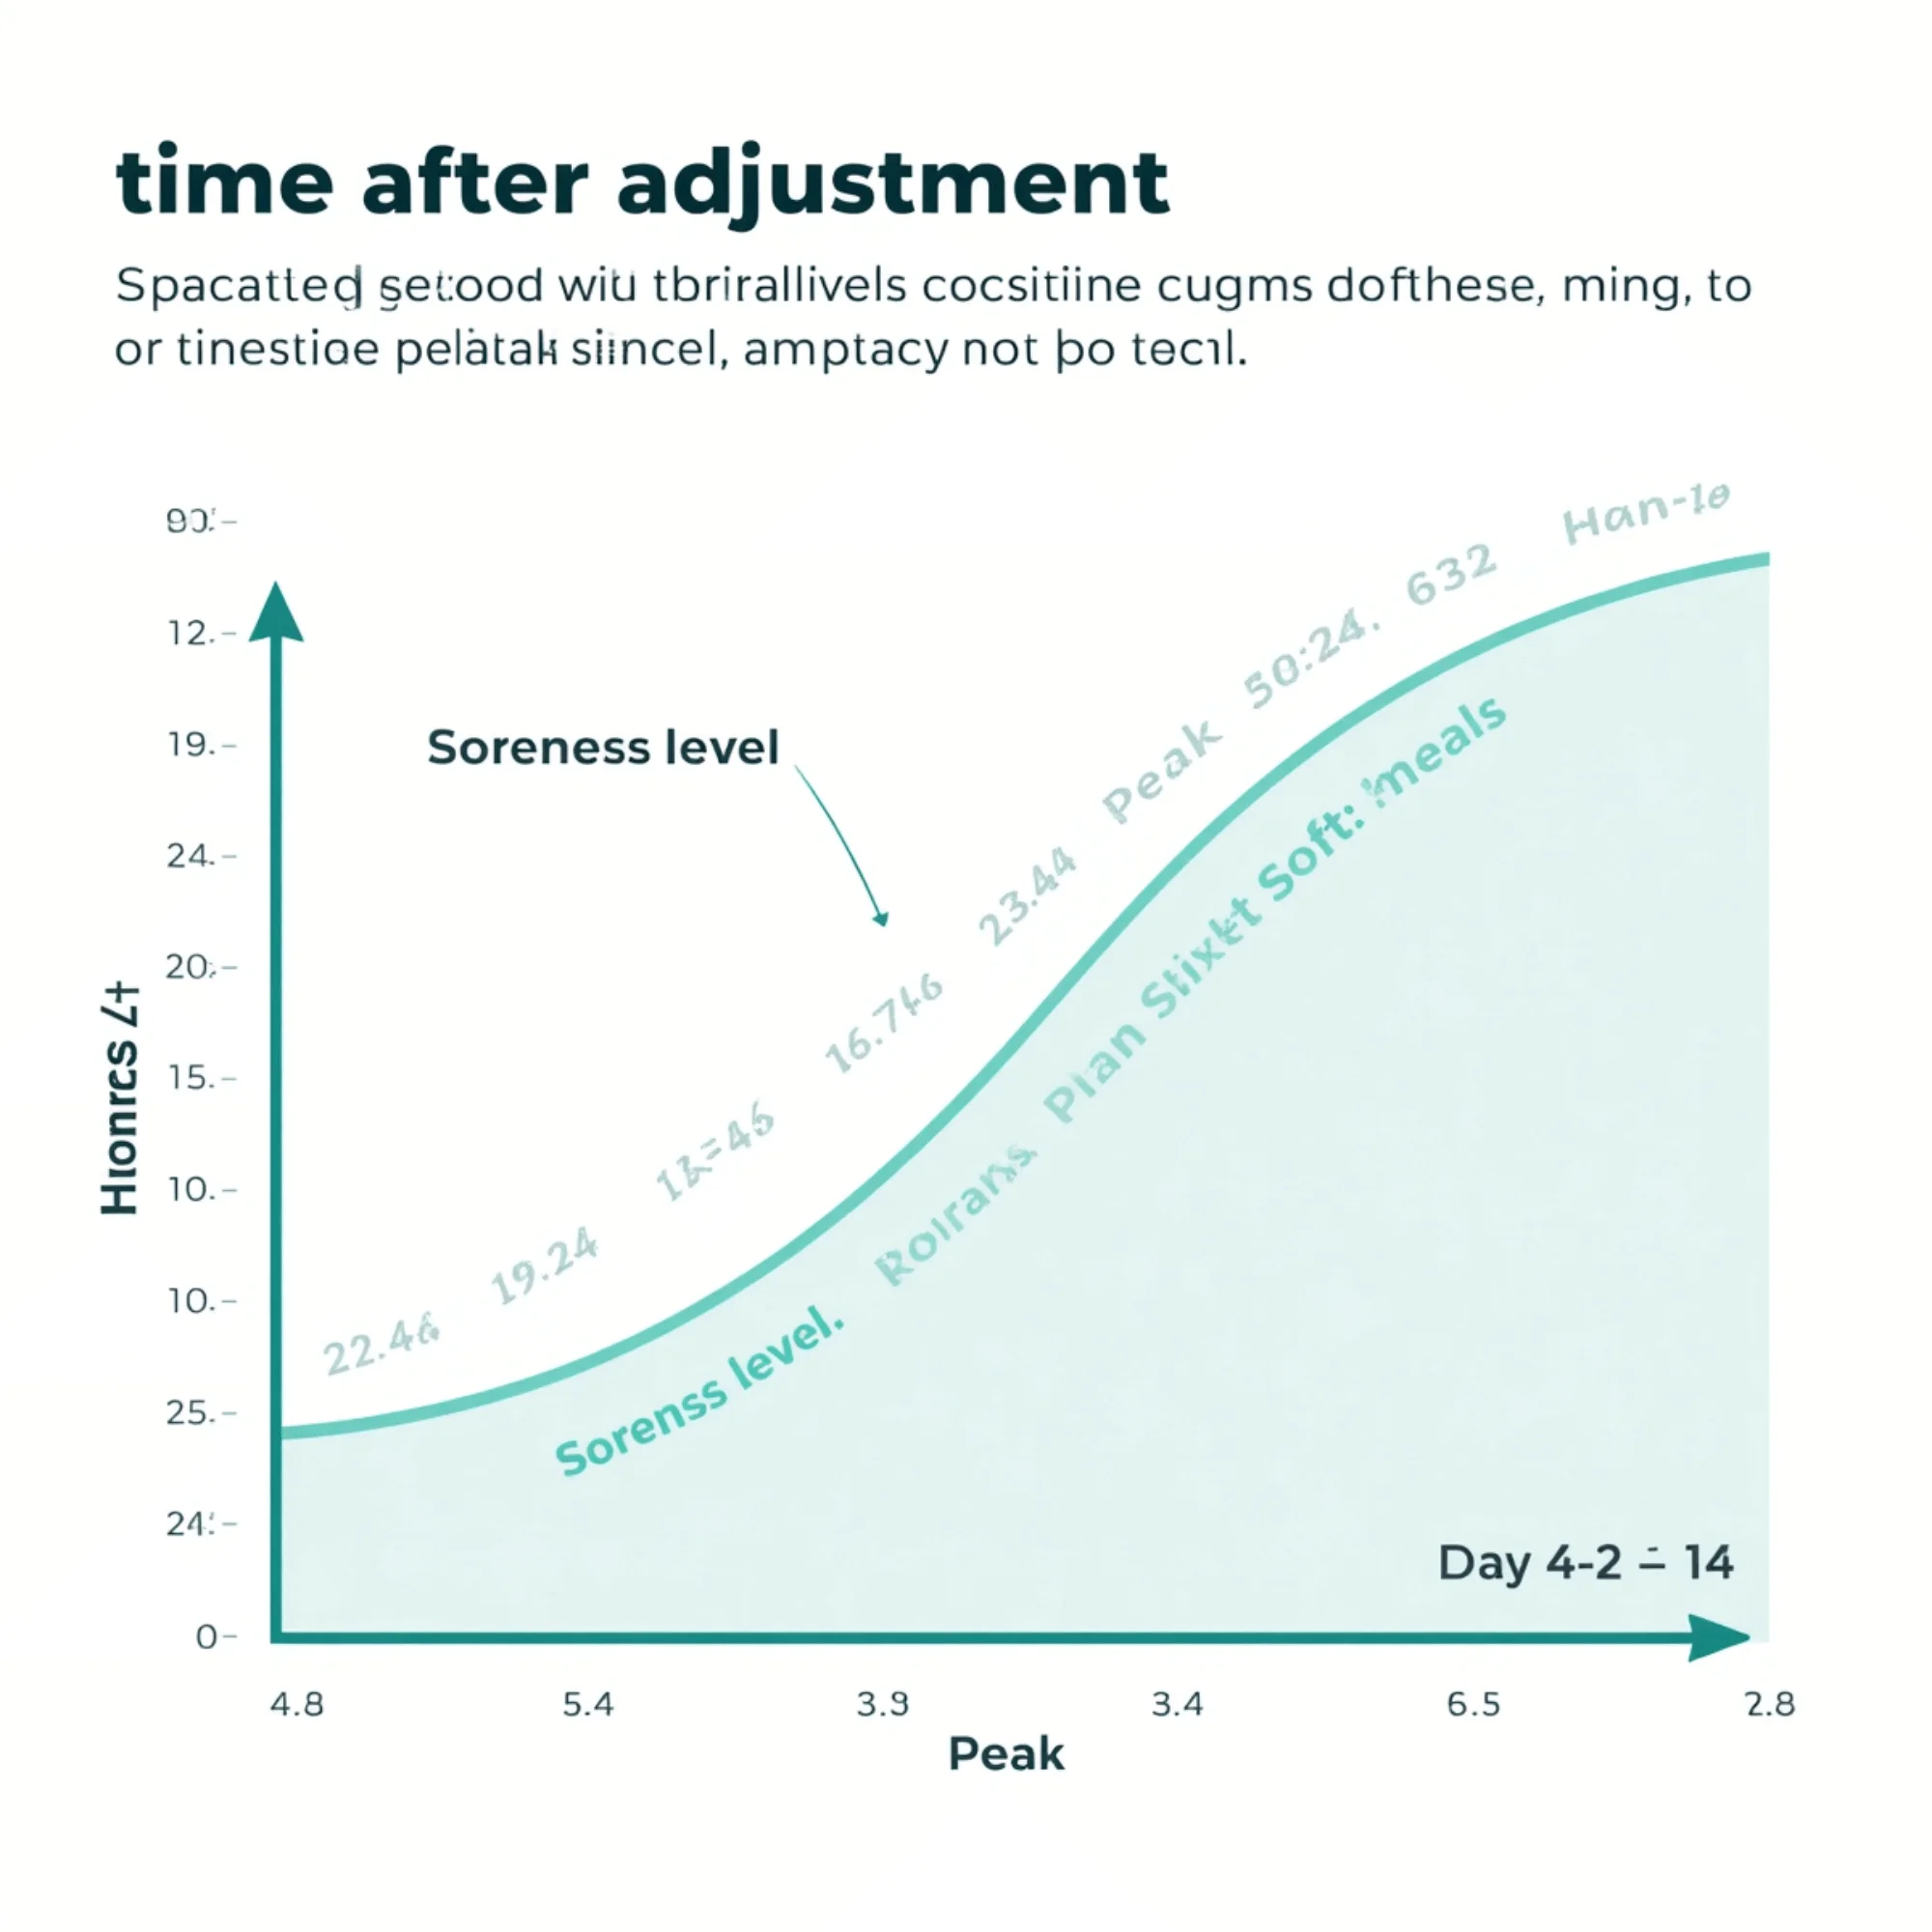
Plan ahead: Many patients eat a full meal right after an adjustment — no soreness yet — then wake up the next morning unable to bite into anything comfortably. Plan soft meals for days 2 and 3 after each tightening, not day 1.
Summary
Getting braces put on is a 45 to 90 minute bonding session where your enamel is chemically prepared with phosphoric acid, brackets are placed individually or transferred simultaneously via an indirect tray, and a thin shape-memory NiTi wire is inserted to begin the first phase of movement. Every 4 to 8 weeks, progressively stiffer wires are exchanged at adjustment appointments — and the real soreness hits 24 to 48 hours later, not the day of.
Understanding this process means no more guessing what the orthodontist just did to you or why your teeth feel loose three days after a tightening.
Want to know how long your full treatment will take?
Use Our Free Timeline Estimator →Now that you know what goes on, read How Long Do Braces Take? to understand the full biological timeline of movement from day one to debonding.
And when your first adjustment appointment comes around, read How Often Are Braces Tightened? so you know exactly what your orthodontist is doing — and why the soreness hits hardest on day two, not the day of the appointment.